
Made With Sour Punch Rainbow Straws Candy
Sour Punch Snowman Truffles Recipe
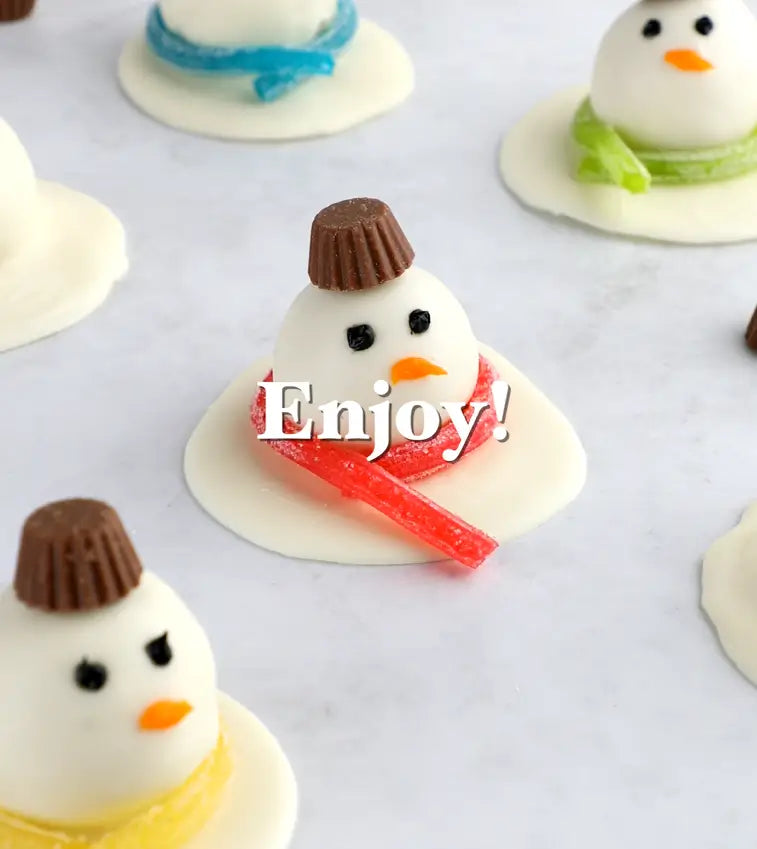
Merry and bright is the name of the game with these tasty (and did we mention adorable?!) Snowman Truffles featuring Sour Punch Rainbow Straws. Cute little winter buddies you can make and munch super easily - yes, please!
What You'll Need:
- 2 cups edible sugar cookie dough
- 2 cups melted white chocolate
- 12 miniature peanut butter cups
- Black icing & orange icing
- 2 Trays of Sour Punch Rainbow Straws

Step 1
Start with Edible Cookie Dough
Following your preferred recipe, make about 2 cups of edible sugar cookie dough.
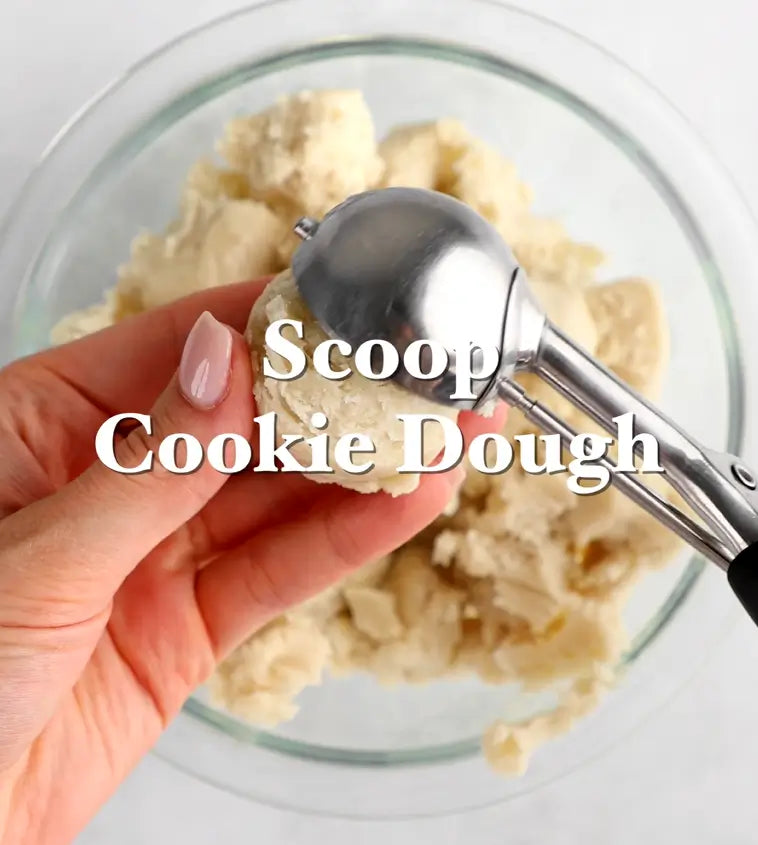
Step 2
Scoop the Dough
Using a mini cookie scoop or a tablespoon, scoop the dough into small heaps.
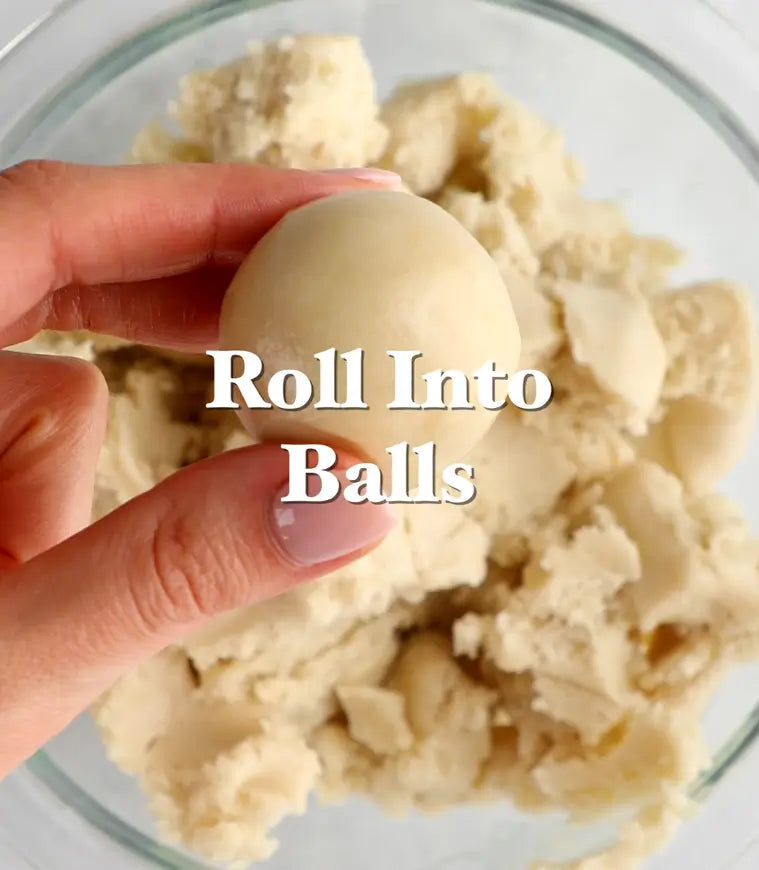
Step 3
Roll Dough
Roll the cookie dough into smooth, rounded balls.
(If the dough is quite soft and not holding shape, pop them into the freezer for 30 minutes).
(If the dough is quite soft and not holding shape, pop them into the freezer for 30 minutes).
Step 4
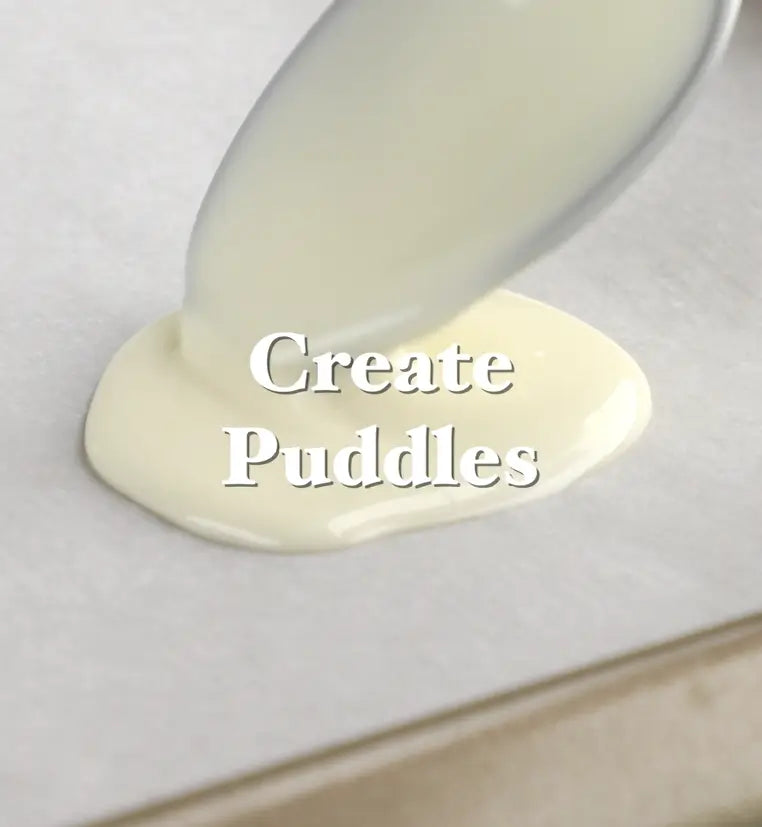
Create Chocolate Puddles
Line a large baking sheet with parchment paper.
Spoon melted white chocolate into rounded puddles, about 2-3 inches wide, on the parchment paper.
Spoon melted white chocolate into rounded puddles, about 2-3 inches wide, on the parchment paper.

Step 5
Coat Dough Balls
Using a fork or spoon, carefully dip a sugar cookie dough ball into the melted white chocolate. Evenly coat the entire ball.
Step 6
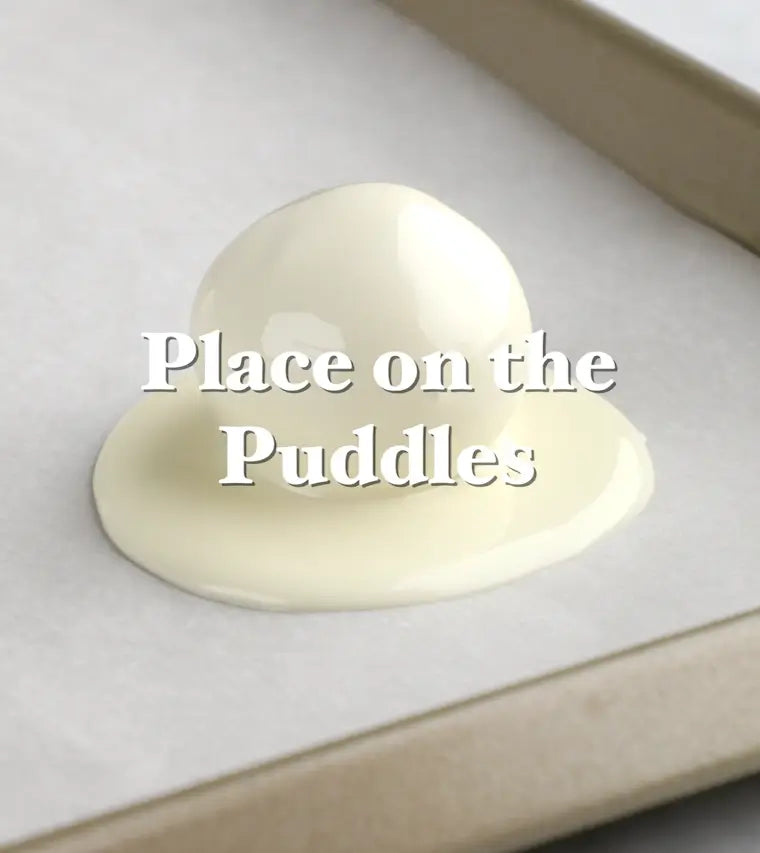
Place Chocolate-Coated Truffles on the Chocolate Puddles
Place coated truffle balls on the melted white chocolate puddles.
Chill truffles inside the refrigerator for 30 minutes to set.
Chill truffles inside the refrigerator for 30 minutes to set.
Step 7
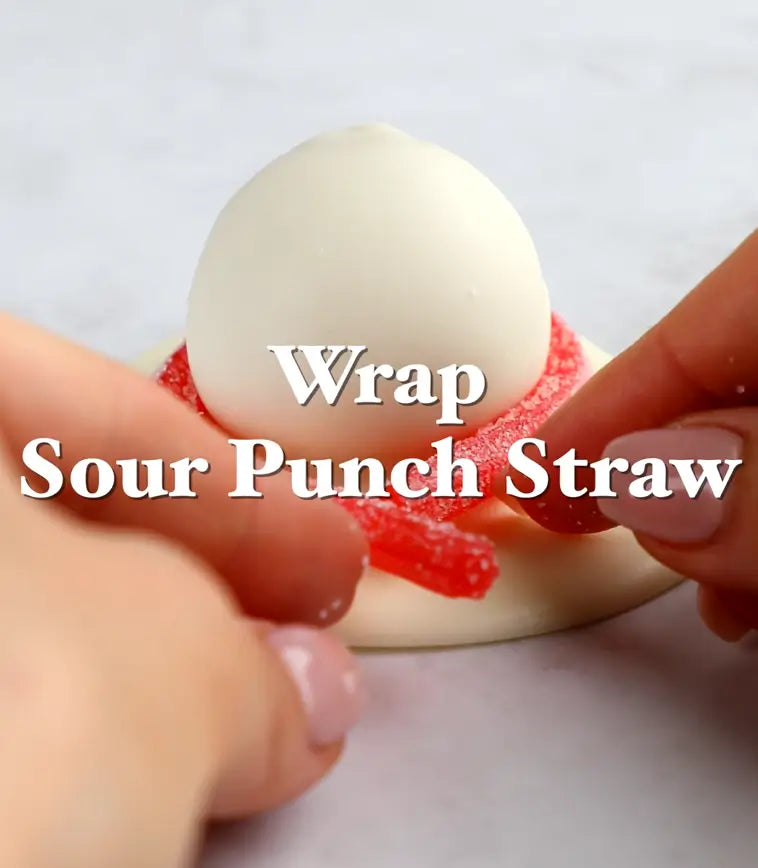
Use Sour Punch Straws to Create the Scarf
Remove truffles from the refrigerator. Gently wrap a Sour Punch Rainbow Straw around the neck of each snowman.
Step 8
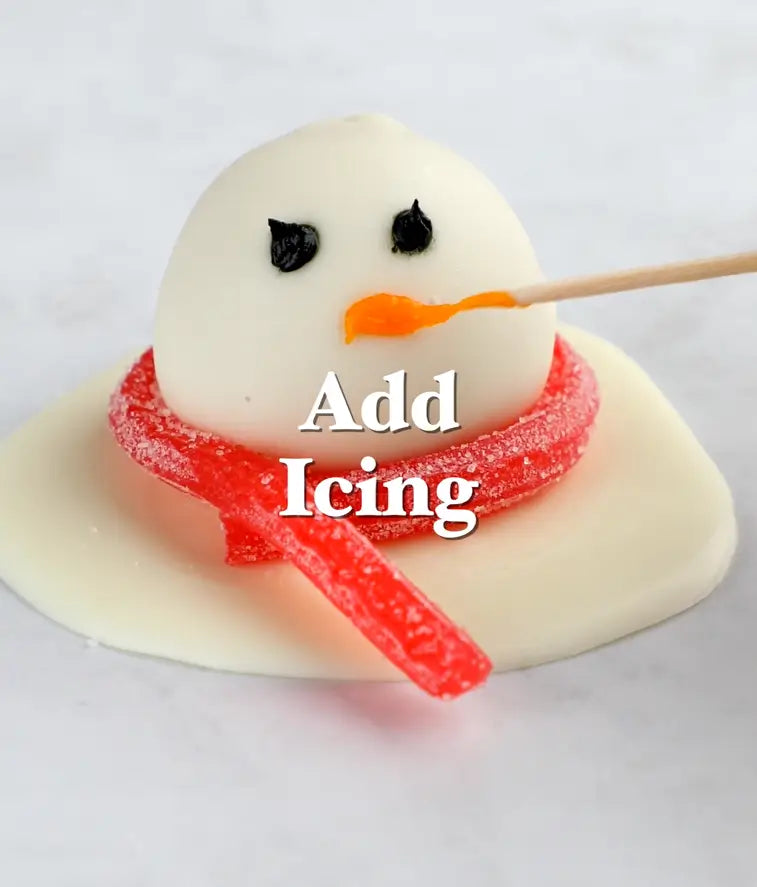
Add A Face
Use black icing to create the eyes and orange icing to create the nose.
Step 9
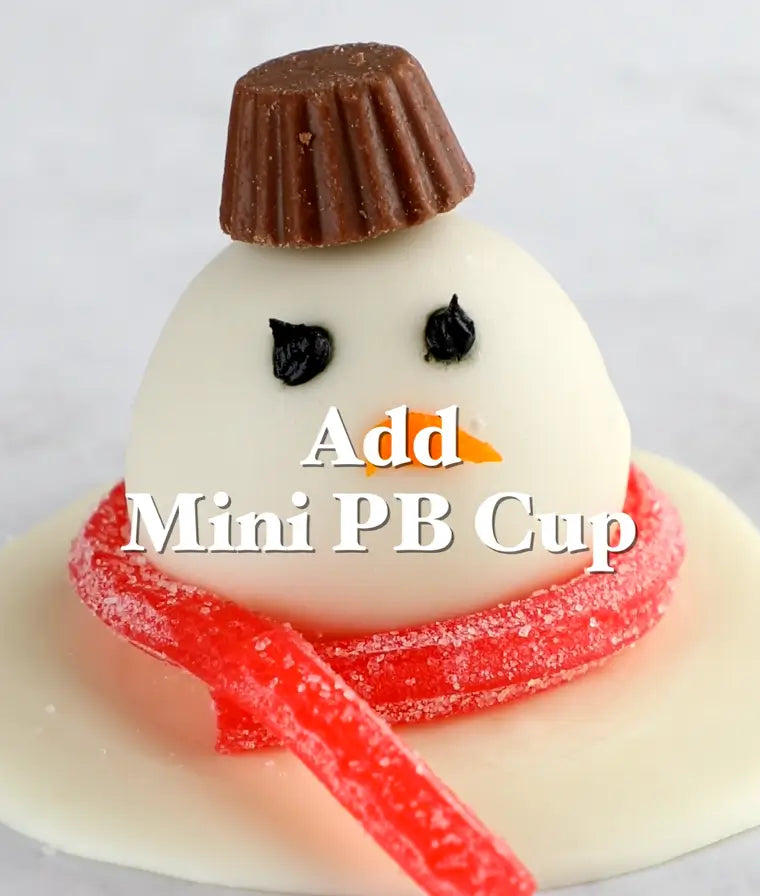
Add a Hat
Attach a miniature peanut butter cup on top, using icing to help secure it.
Step 10